So you’ve got a Strat and you want to upgrade the pickups and electronics, but you hate the idea of having to solder all of the connections? The Seymour Duncan Loaded Pickguards for Strat® are exactly what you need. With the Liberator solderless pots installed on most models, the Loaded Pickguards make changing your pickups and electronics a breeze.
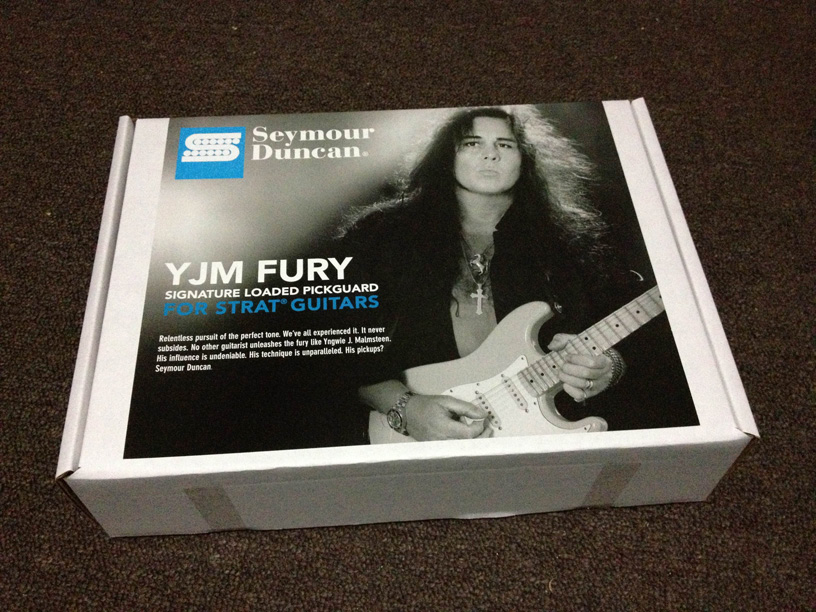
I wanted to test out how easy it actually was to install one of these pickguards, but to make things more difficult I picked the YJM Fury Loaded Pickguard – the only model not to feature a Liberator (because it features the YJM High Speed Volume Potentiometer where the Liberator would usually be). Lets break it down and see what’s involved with installing the pickguard.

Open up the box and you’ll find the Loaded Pickguard filled with YJM Fury goodness, and an installation instruction sheet.
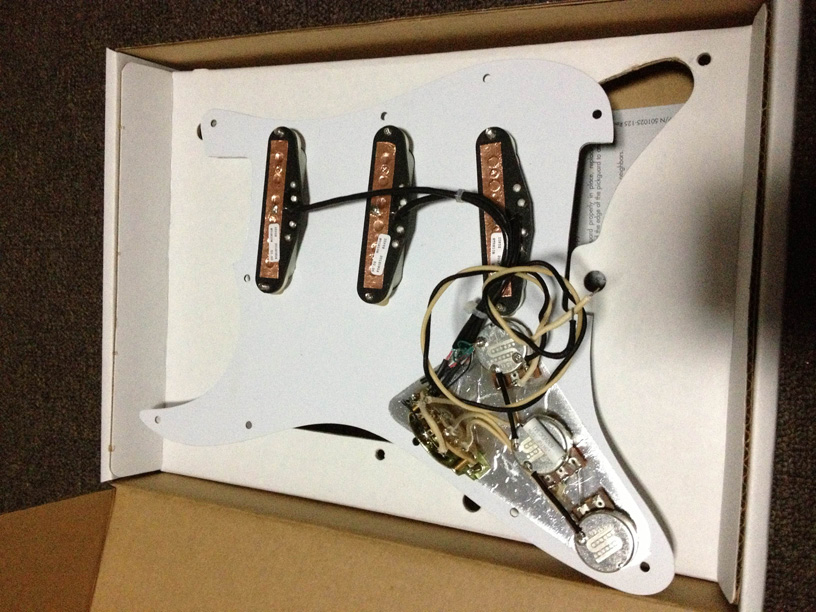
Turn it over and you’ll see a really well wired-up setup. So much neater than what I could do myself! So lets get onto it.
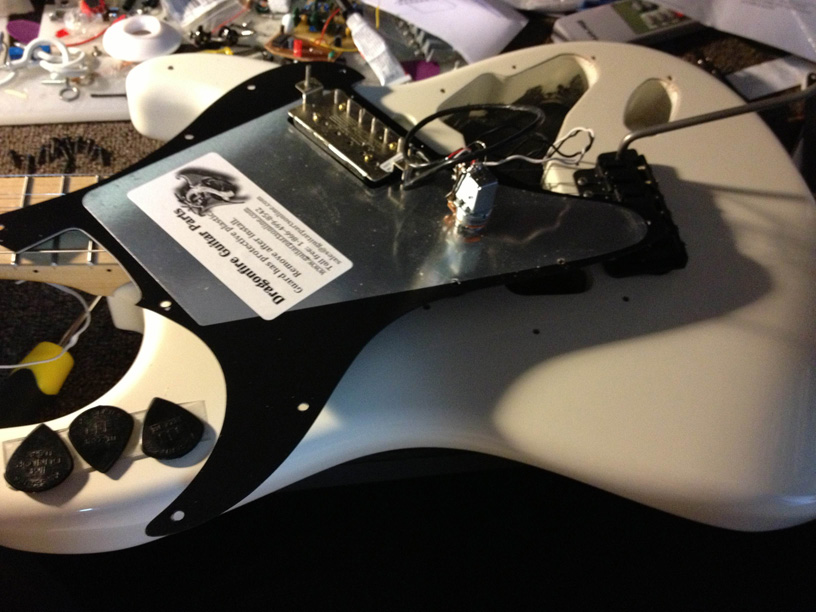
First thing you need to do is take your existing pickguard off. This is nice and easy with a vintage six-hole Strat bridge. If your bridge is floating, it might help to remove the tremolo springs and loosen the strings a little. If it’s set flush against the body, you’ll just need to loosen the strings. Remove all of the screws holding your pickguard on and carefully lift the pickguard away from the guitar body.
You might not have much length in the wires running to your output jack, so it’s best to remove the jack plate and de-solder the wires there before you remove the pickguard. De-solder the bridge and body ground wires (if your guitar has one) from the back of the volume pot. The whole pickguard should come away from the guitar now.
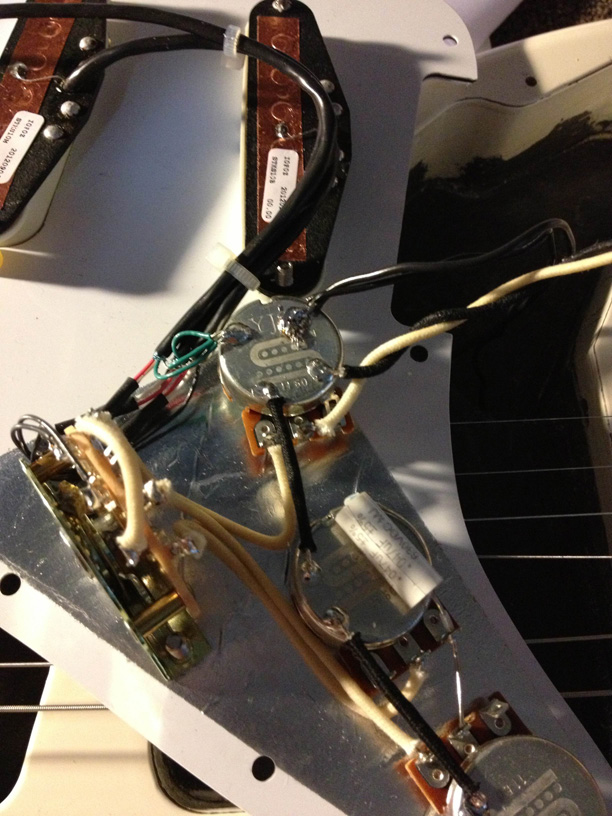
Get the new Loaded Pickguard and solder the bridge and body ground wires to the back of the volume pot.
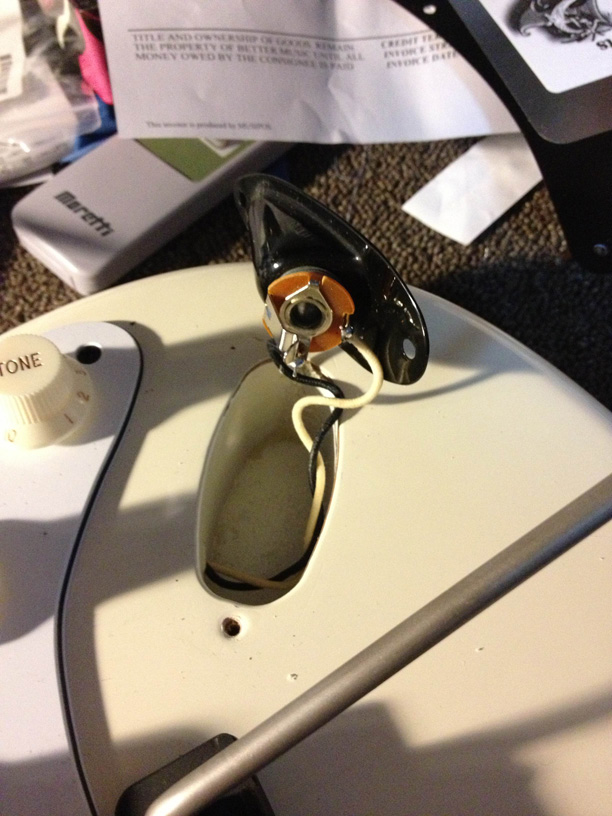
Run the black and white output jack wires and connect them to the tip and sleeve lugs on the output jack.
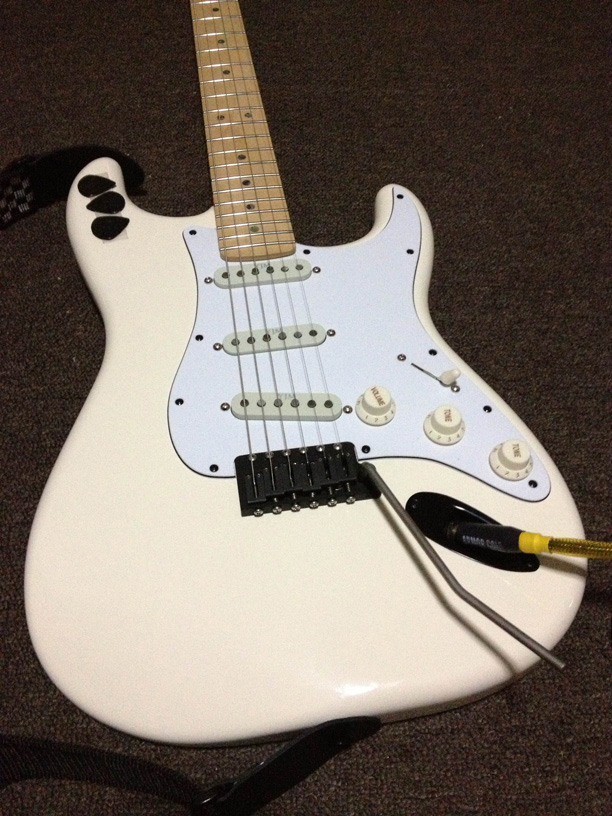
Place the pickguard and output jack plate back in their respective resting spots and screw all the screws back in. Pop the bridge springs back in place, tune up your guitar and you’re ready to go!
It really is that easy to radically transform the sound of your Strat and replace the pots and switches with high quality parts in around 15 minutes. All you need is a screwdriver, soldering iron and solder, and maybe something to help you put the bridge springs back in place. The YJM Fury pickguard would be the most complicated model to install due to the lack of a Liberator solderless pot, but even so it’s still a cinch to install. So if you’ve got a Strat with pickups that just don’t inspire you, and electronics that just don’t quite feel up to the job, and you really don’t want to spend ages soldering up heaps of wires, give a Seymour Duncan Loaded Pickguard for Strat® a go.
WRITTEN ON DECEMBER 28, 2012, BY